How to Install a Trailer Hitch
Tuesday, June 21, 2022
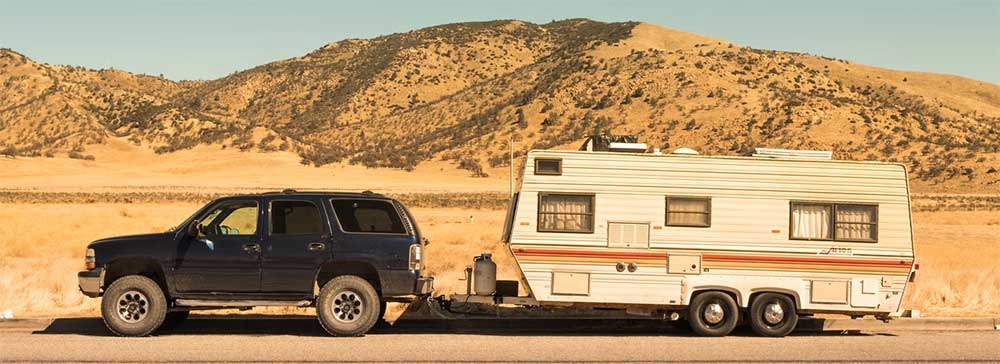
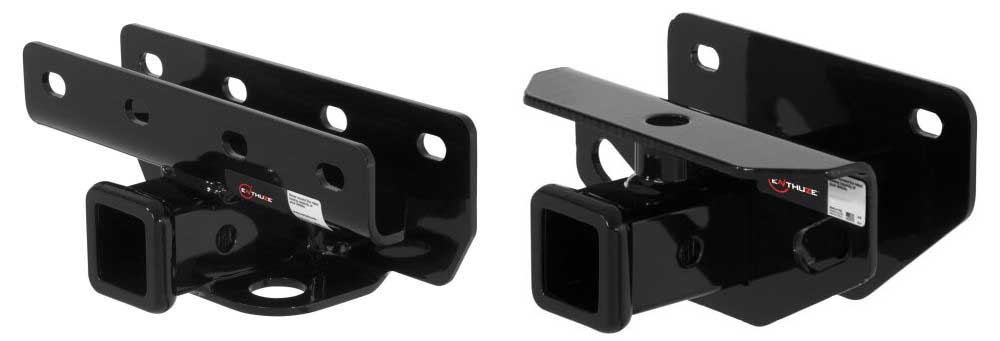
If you’re looking at any Enthuze class 3 hitch, or have already bought a Class 3 tow hitch, you might be wondering how to install it. The first thing to be aware of is the instruction manual that came with your Class III hitch.
The installation of a Class III tow hitch isn’t particularly complicated and usually only requires basic tools. However, if the DIY installation seems beyond your experience or you simply don’t have time, it might be best to enlist an auto shop to install the hitch.
If you’re in Canada, your local Action Car and Truck Accessories location can do that for you.
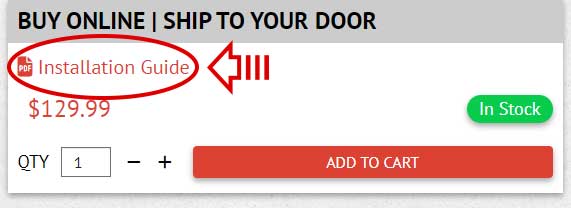
Note: All Enthuze trailer hitches have a link to their installation guide right on the product page. Look for this symbol and link below for the instructions on the installation of your trailer hitch.
Let’s take a look at the basic steps required to install a Class 3 trailer hitch.
Gather Some Tools and Materials
The first step in any installation job is to make sure you have the right tools and materials. For installing a Class III trailer hitch, you will need the following items:
- Safety glasses
- Gloves
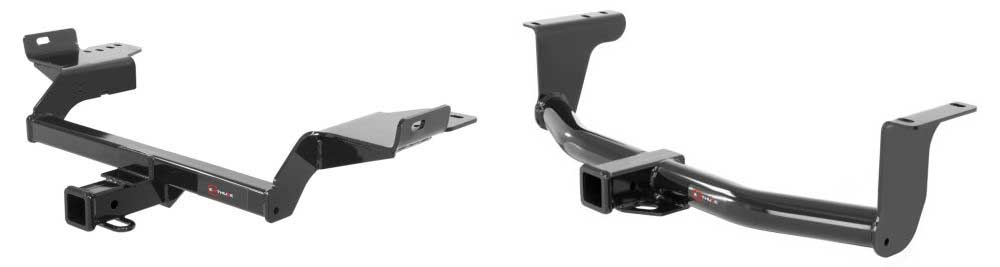
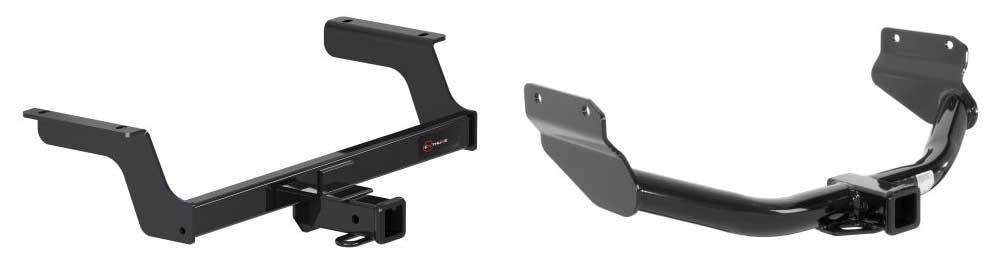
- Class 3 receiver hitch
- Ball and ball mount
- Penetrating oil (WD40, PB B’laster, Liquid Wrench, etc.)
- Regular wire brush
- Small wire brush
- Basic ratchet and socket set
Make sure to work on a level surface with plenty of light, and make sure to have your instruction manual handy for the specific details about your hitch.
Prepare Your Vehicle
The next step is to prepare your vehicle for the installation of your Class III receiver hitch. Even if you’re on a level surface, you still need to activate your parking brake and chock your wheels with two wedges in the center of both rear tires. You can put them on the other side of the tires as well for more peace of mind.
If you have a vehicle with a rear-mounted spare tire, you may need to remove this.
You don’t necessarily need to jack up your vehicle, but it might give you more room to work. If you do jack up your vehicle, make sure to use jack stands for support.
Remove any plugs or bolts from your vehicle in the area where the hitch will be installed. Check your instructions to make sure this is necessary.
Clean the area thoroughly with the wire brush mentioned above and some penetrating oil.
If you don’t have pre-drilled holes for the hitch mount, you will need to do this according to your instructions.
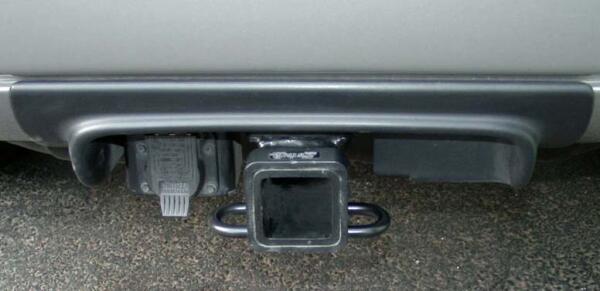
Attach The Hitch
Once your vehicle is ready to go, it’s time to attach the hitch.
Start by lifting the hitch into position. If it’s a heavy hitch, you may need a friend to help. Attach the hitch to the frame of your vehicle using C-clamps.
Tighten the bolts just enough to hold the hitch in place for now. If your trailer doesn’t have a ball mount or a trailer ball, you’ll need to install those before you can tow with your new hitch.
Tighten the Bolts
After your hitch is on finger-tight, it’s time to torque the bolts down to the specifications found in your hitch’s instruction manual.
Finally, you’ll need to connect any wiring harness or other electrical wiring for your brake lights and turn signals. To legally tow a trailer, your vehicle’s turn signals and brake lights need to be connected with a trailer wiring harness.
Many trucks and SUVs come pre-wired for this type of application, but if your vehicle did not, you’ll need to purchase and install a trailer wiring harness.
Extra Tips
If you end up losing a bolt while feeding through the hollow frame of your vehicle, you can get it out by using a telescoping magnet. Not all vehicles will require feeding bolts through a hollow frame but losing a bolt this way can happen.
Some hitches will require you to use the pre-existing weld nuts on your vehicle for mounting. However, if you have an older vehicle, these nuts have likely been exposed to substantial outdoor weathering and they may be significantly rusted or corroded.
Before you start your installation, save yourself some frustration and take a look at the condition of the weld nuts. Use a penetrating lubricant and a wire brush to clean the threads of minor corrosion. If you have heavy corrosion, you’ll need to use a thread tap.
Some vehicles might require plastic fascia panels to be cut or trimmed. Be very careful when doing this and mark cut areas with masking tape. You can use a utility knife or rotary cutoff tool to trim the marked areas.
You can expect a hitch installation to take between 30 minutes and a few hours, depending on your level of expertise.
A trailer hitch install, when done properly, will not void your warranty. Done properly are the key words, so make sure to follow instructions and use the hardware that comes with your hitch. If you have doubts about your level of expertise, it’s best to let a professional do it. We recommend Action Car and Truck Accessories. They are located all over Canada.
Find the best Class 3 hitch receiver for your vehicle at Enthuze. Our tow hitches are custom-made for your exact make and model, so you won’t have to worry about compatibility. All Enthuze products are tested in-house for the utmost quality before carrying the Enthuze name.